PuzzleFree
How to Assemble a Jigsaw Puzzle Step-by-Step Guide
December 29, 2025
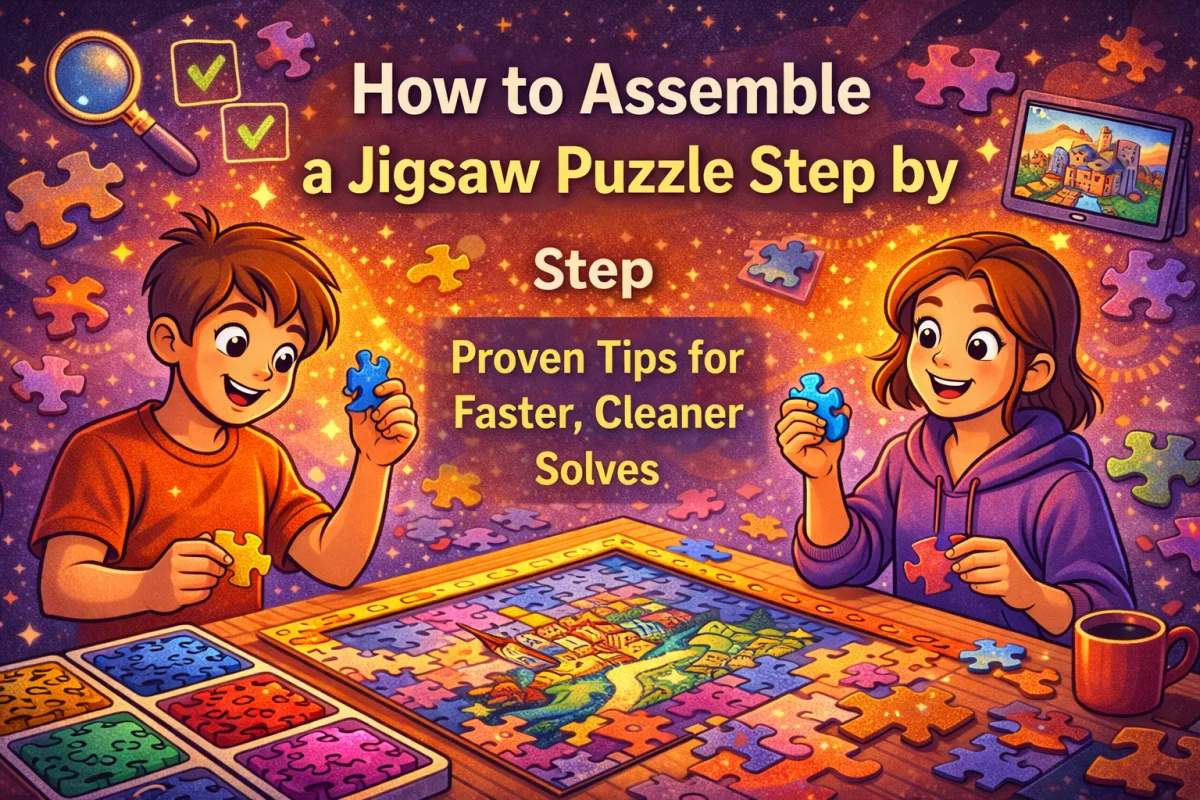
Assembling a jigsaw puzzle looks simple: dump the pieces and start connecting. But if you want a smoother experience (and fewer “why is this taking forever?” moments), it helps to follow a clear process. This step-by-step guide explains how to assemble a jigsaw puzzle efficiently, from setup and sorting to finishing tricky sections. The techniques work for both physical and online puzzles, and they scale well from 100 pieces to 1000+.
Step 1: Set Up the Right Workspace
A good setup improves speed and reduces frustration. You want a stable surface, strong lighting, and enough room to keep pieces visible.
Workspace Checklist
- Flat table or desk with enough space for the full puzzle
- Bright, neutral lighting (avoid heavy yellow shadows)
- Trays, bowls, or small boxes for sorting
- The reference image nearby (box cover or preview)
Pro Tip for Small Spaces
If you don’t have a large table, use a puzzle mat or a large board so you can move the puzzle between sessions without losing progress.
Step 2: Flip and “Read” the Pieces
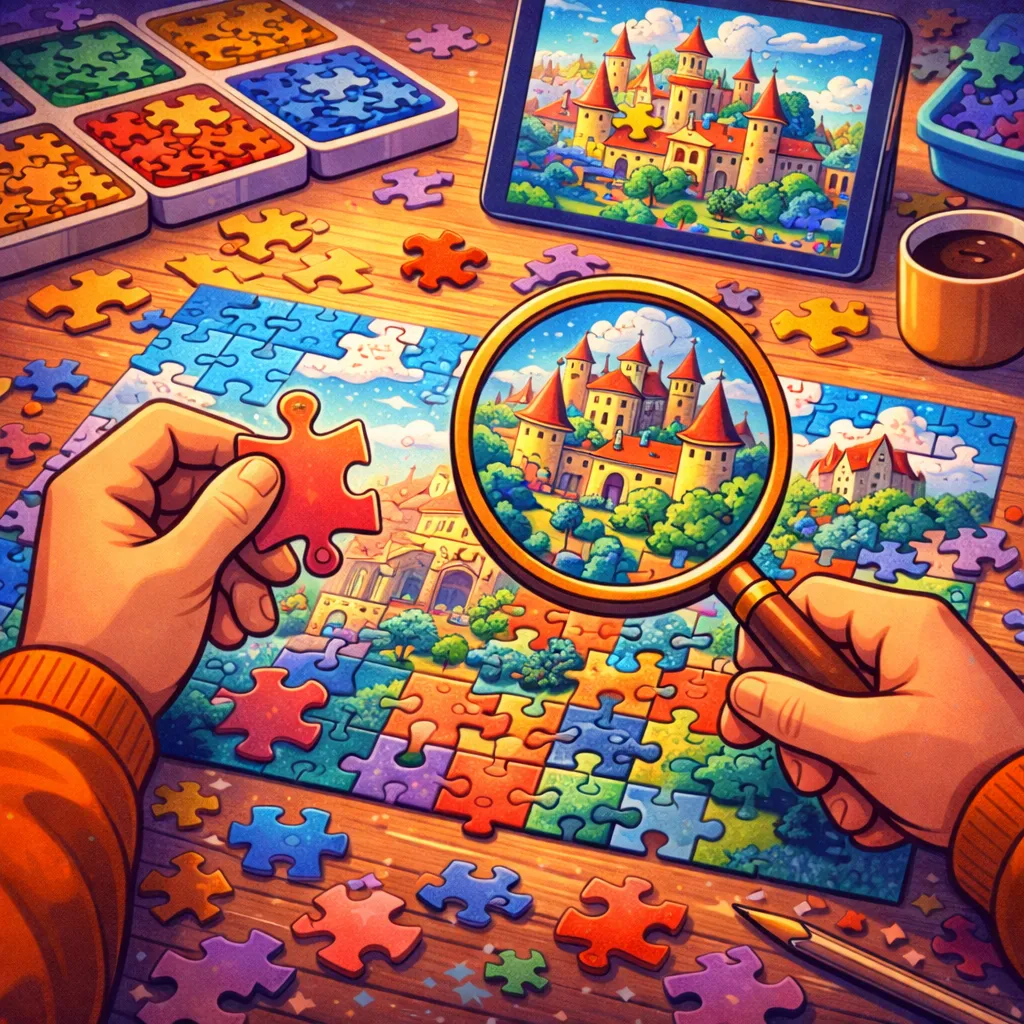
Before you build anything, flip all pieces face-up. This is not wasted time. It’s a quick scan that helps your brain learn the image and spot anchor areas (strong colors, unique shapes, text-like patterns, edges).
Step 3: Separate Edge Pieces First
Edge pieces are your frame. Finding them early reduces the search space and gives your puzzle a clear boundary.
How to Identify Edge Pieces
- Corner pieces have two flat sides
- Edge pieces have one flat side
- Interior pieces have no flat sides
Step 4: Build the Frame (The Puzzle Border)
Assemble the border using corners first, then connect edges by color and pattern. A completed frame makes the rest of the puzzle feel structured and manageable.
“The border is your map. Once it’s done, the puzzle stops feeling infinite.”
Step 5: Sort by Color, Texture, and Pattern
This step is where you win time. Instead of searching through a mixed pile, you create “mini-buckets” of similar pieces. Even a simple sort makes a big difference.
Sorting Methods That Actually Work
- By dominant color (blue sky, green forest, red objects)
- By texture/pattern (brick wall, water ripples, fur, leaves)
- By special features (faces, text-like areas, sharp highlights)
- By piece shape (useful for repeating patterns)
Step 6: Start with the Easiest Anchor Sections
Anchor sections are parts of the image that are visually unique and easy to assemble. Completing them early gives you progress, confidence, and clear reference zones.
Common Anchor Sections
- Buildings with straight lines and windows
- Characters, animals, or faces
- Bright objects (balloons, signs, cars, planets)
- High-contrast areas (light against dark)
Step 7: Connect Sections and Expand Outward
Once you’ve built a few small clusters, place them inside the frame and begin merging. Work outward from anchors into nearby colors and gradients.
Step-by-Step Expansion Strategy
- Place completed sections in approximate positions
- Fill gaps around each section before starting a new one
- Use the border as a guide for alignment
Step 8: Handle Difficult Areas (Sky, Water, Repeating Patterns)
Large gradients and repeating textures are where most people slow down. The trick is to switch from “color-first” thinking to “shape-first” thinking.
| Difficult Area | What to Do |
|---|---|
| Sky gradients | Sort by subtle shade shifts, then match piece shape |
| Water or snow | Look for tiny pattern cues and edge highlights |
| Repeating textures | Group by shape type and connector orientation |
| Dark sections | Increase lighting, reduce glare, slow down and scan |
Step 9: Use Smart Search Habits (Scan, Don’t Hunt)
When you’re missing one piece, don’t panic-search randomly. Scan systematically: left to right, top to bottom. Your brain is better at recognizing than actively searching.
Step 10: Finish Clean and Keep Your Momentum
Near the end, the puzzle becomes faster because the remaining pieces are more constrained. Keep your pieces organized, avoid forcing fits, and take a short break if you feel stuck.
Quick Finishing Tips
- Save the hardest “empty” area for last once neighbors are placed
- Double-check orientation before trying a piece
- Take a 5-minute break if everything looks “wrong”
Can You Use the Same Steps for Online Puzzles?
Yes. Online puzzles follow the same logic: edges first, then anchors, then expansion. The difference is convenience. On platforms like PuzzleFree.Game, you can adjust the number of pieces, zoom in for detail, and save progress instantly, which makes step-by-step learning easier.
Conclusion
If you want a better puzzle experience, follow a simple system: prepare the workspace, build the frame, sort smartly, start with anchors, then expand. These steps reduce frustration, improve speed, and make puzzle solving feel clean and satisfying. Whether you’re assembling a physical puzzle on a table or completing one online, a structured approach turns “random trying” into real progress.